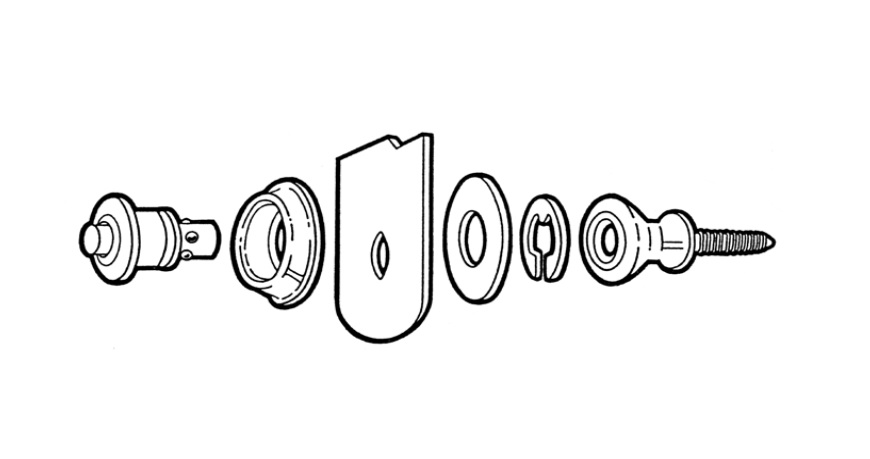
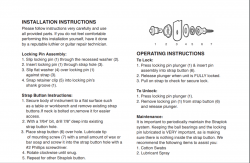
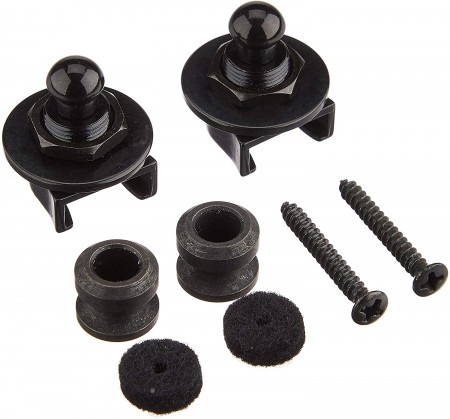
Locking Pin Assembly:
1. Slip locking pin (1) through the recessed washer (2).
2. Insert locking pin (1) through strap hole (3).
3. Slip flat washer (4) over locking pin (1)
against strap (3).
4. Snap retainer clip (5) into locking pin’s
shank groove (1).
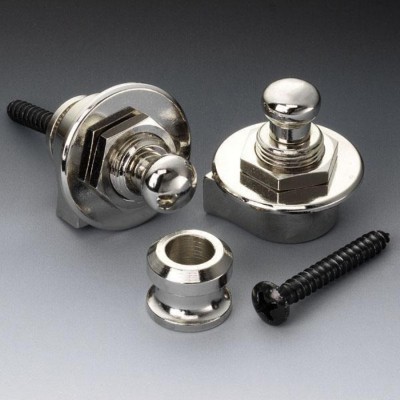
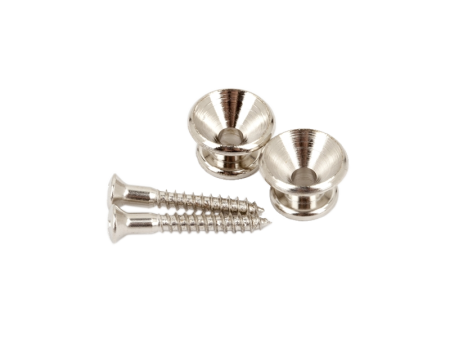
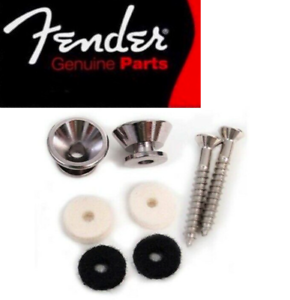
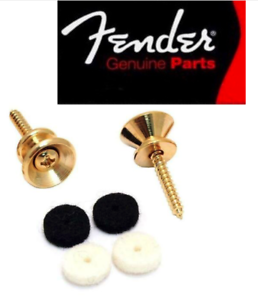
Strap Button Instructions:
1. Secure body of instrument to a flat surface such
as a table or workbench and remove existing strap
buttons.If neck is bolted on,remove it for easier
access.
2. With a 7/64ʺ bit, drill 7/8” deep into existing
strap button hole.
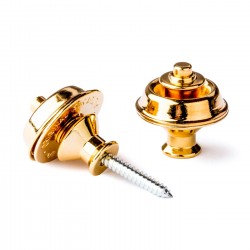
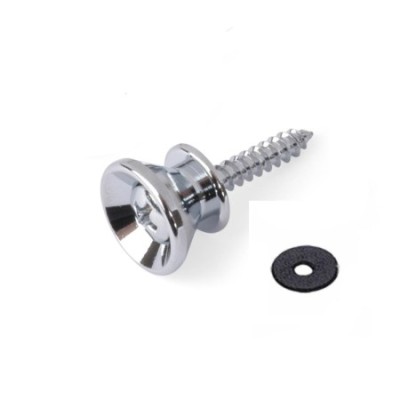
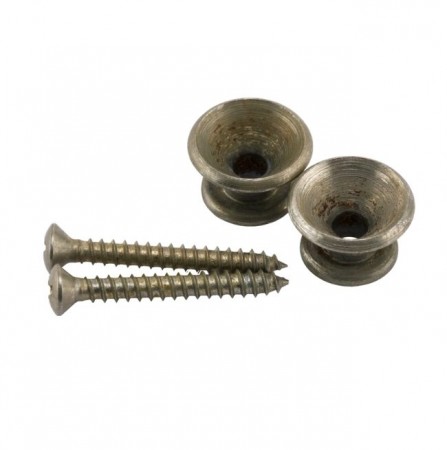
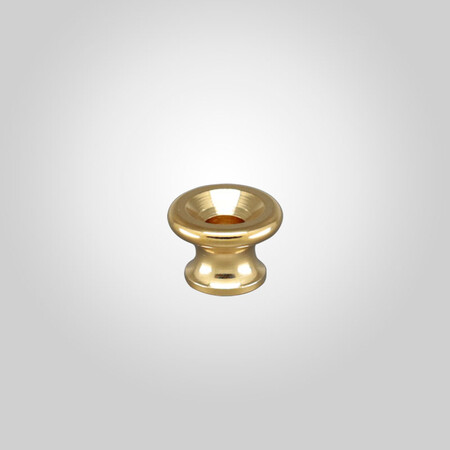
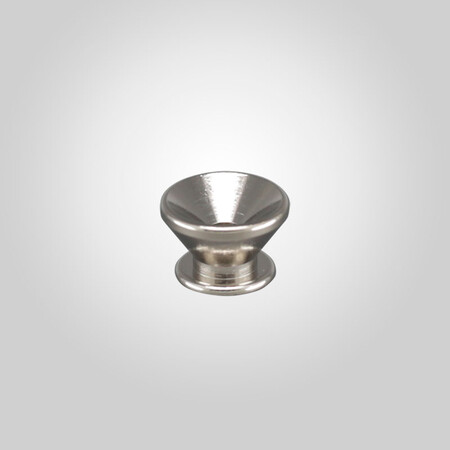
3. Place strap button (6) over hole. Lubricate tip
of mounting screw (7) with a small amount of wax or
bar soap and screw it into the strap button hole with a
#2 Phillips screwdriver.
4. Rotate clockwise until snug.
5. Repeat for other Straplok button.
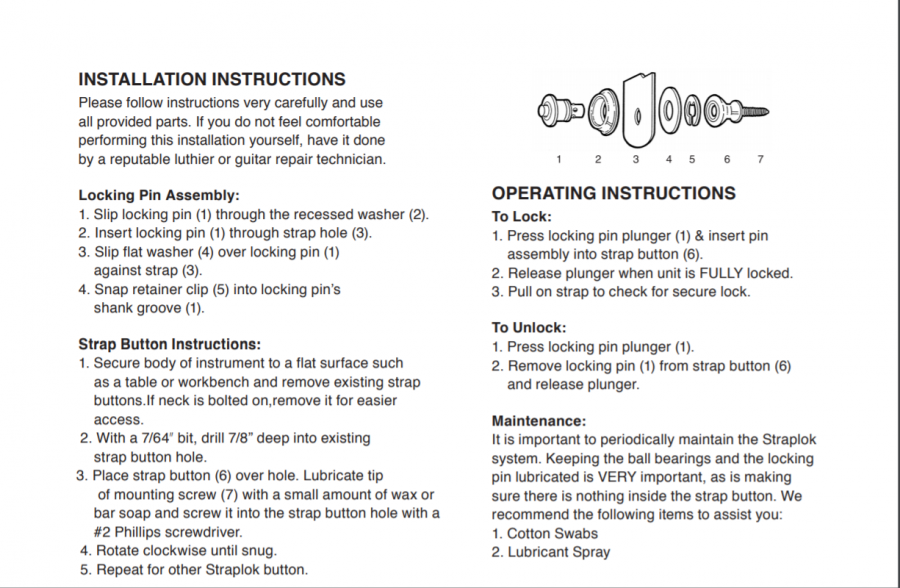
To Lock:
1. Press locking pin plunger (1) & insert pin
assembly into strap button (6).
2. Release plunger when unit is FULLY locked.
3. Pull on strap to check for secure lock.
To Unlock:
1. Press locking pin plunger (1).
2. Remove locking pin (1) from strap button (6)
and release plunger.
Maintenance:
It is important to periodically maintain the Straplok
system. Keeping the ball bearings and the locking
pin lubricated is VERY important, as is making
sure there is nothing inside the strap button. We
recommend the following items to assist you:
1. Cotton Swabs
2. Lubricant Spray